The Gift Aid Recorder till app for Epos Now allows charities operating Gift Aid to record donor details at the till or inside the Epos Now Back Office.
Installing the App
To install Gift Aid Recorder in your Epos Now Back Office please refer to:
Account Settings
Some configuration is required before using Gift Aid Recorder with Epos Now. Please refer to Account Settings to configure system wide settings such as donor numbering, Gift Aid method, Epos Now defaults and postcode lookup.
Launching the app
Launch the app from an action button on the till or in your Epos Now Back Office by visiting https://www.eposnowhq.com/Pages/Apps/AppView.aspx?AppID=1575.
Start Page
The start page is the page you first see when you launch Gift Aid Recorder either on the till or in the Epos Now Back Office. By default the Start page is set to Donors.
To configure the start page see Application Settings.
Home Page
The Home page can be accessed from any page displaying the blue GAR button.
From the Home page you can select the most recent donor by clicking Manage donor…, navigate to the Donors page by clicking Look up an existing donor, Register a new donor, Manage product categories and access the application settings via the blue cog icon.
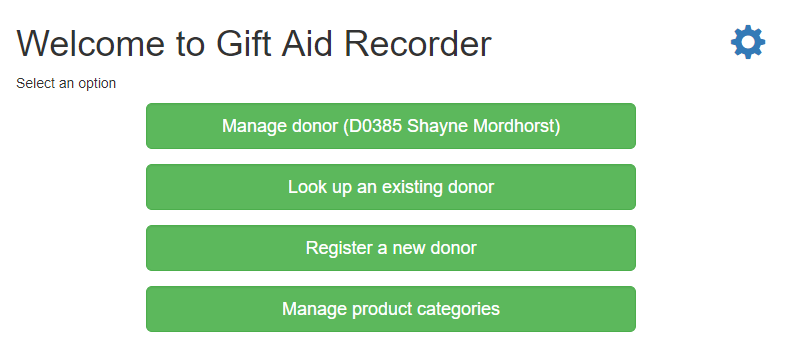
Dependent on the specific plan and configuration, other features may appear on the Home page.
Application Settings
Application settings are device specific options which can be set independently for each till and device running the Epos Now Back Office.
Note: The Gift Aid Recorder user account linked to your Epos Now Staff member must have Administration rights to access Application Settings. Please refer to Managing Staff for guidance.
To access the app settings click the blue cog icon on either the Home page or the Donors page.
Use the sliders to enable and disable options. The options available depend on your specific Gift Aid Recorder plan.
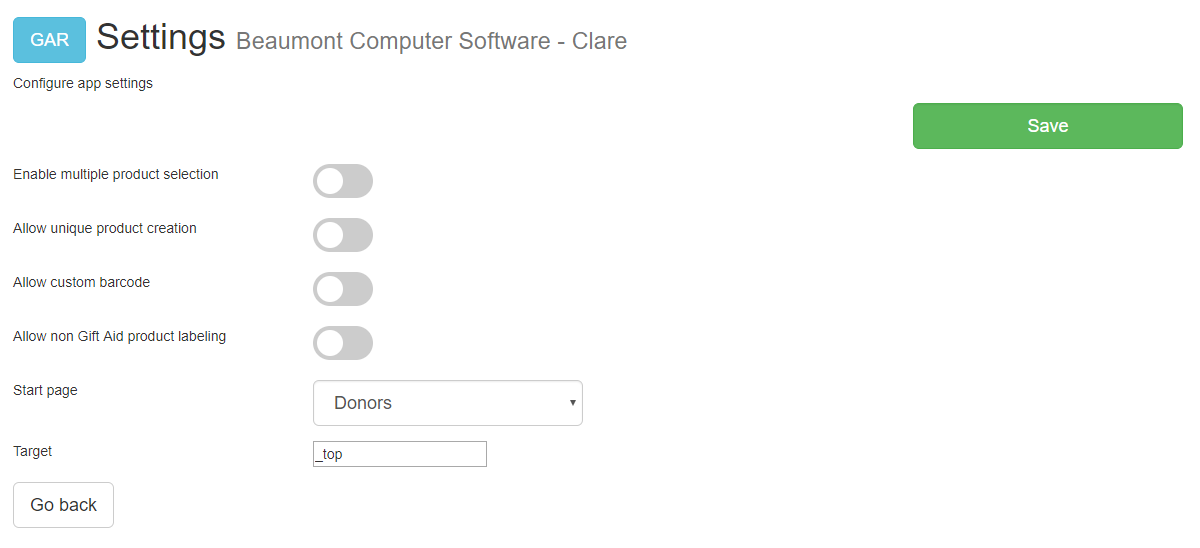
Enable multiple product selection
Enable multiple product selection to allows multiple products to be selected in a manner similar to the familiar shopping cart experience when creating product labels.
Allow unique product creation
Enable Allow unique product creation to allow users to provide a unique description and price when creating product labels.
Allow custom barcode
Enable Allow custom barcode to allow users to override the automatically generated product barcode when creating product labels.
This option requires “Allow unique product creation”
Allow non Gift Aid product labelling
Enable “Allow non Gift Aid product labelling” to allow users to use Gift Aid Recorder to create product labels for non Gift Aid items.
This option adds a button to the Home page to “Generate product labels (non Gift Aid)”
Start page
Configure the Gift Aid Recorder start page for this device. Choose from Donors, Home and New Donor.
Target
On Android devices set to _blank on Windows and iOS devices set to _top. This setting affects the device behaviour when opening a new window and is important to the correct operation of the Generate Labels and Push to Till features.
Manage Product Categories
Note: The Gift Aid Recorder user account linked to your Epos Now Staff member must have Administration rights to access Manage Product Categories. Please refer to Managing Staff for guidance.
Epos Now categories are synchronised with Gift Aid Recorder. Before you begin using Gift Aid Recorder to label products you need to configure which categories your users will be able to select.
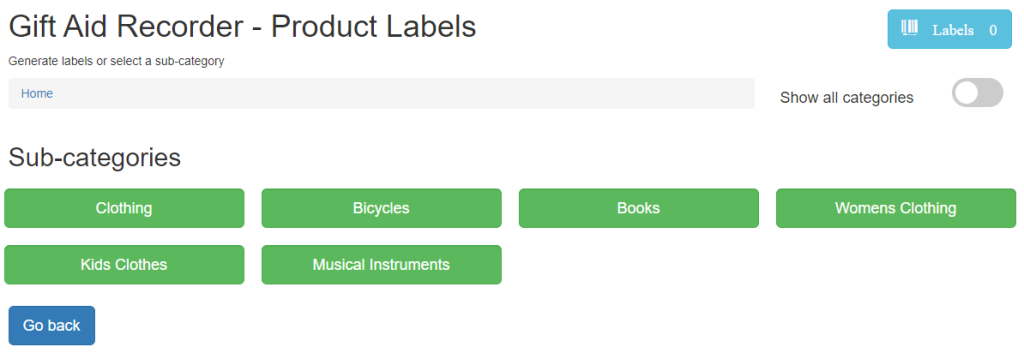
Click the blue GAR button to access the home page. Use the Manage product categories button to enter category configuration mode. Disabled categories are shown in orange, enabled categories in green.
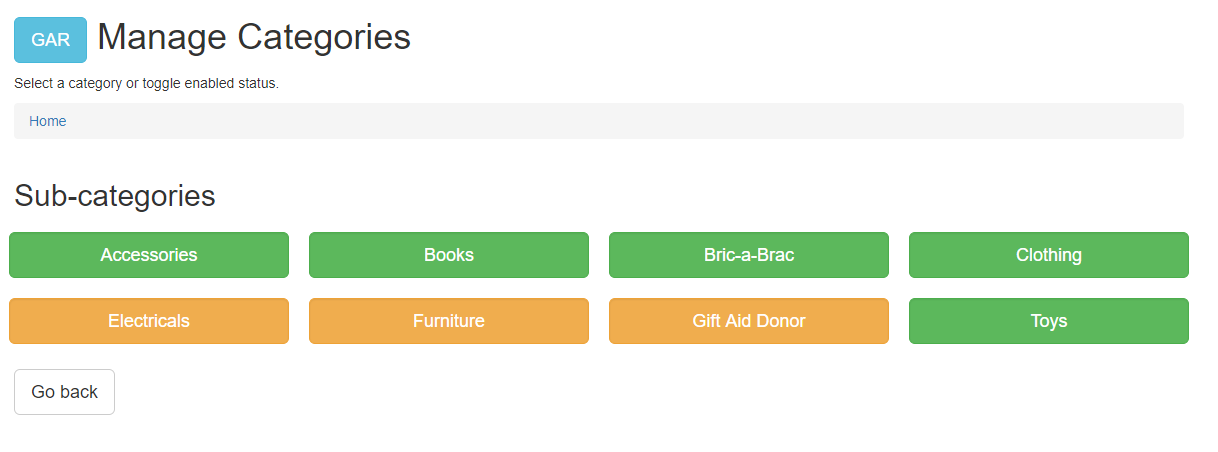
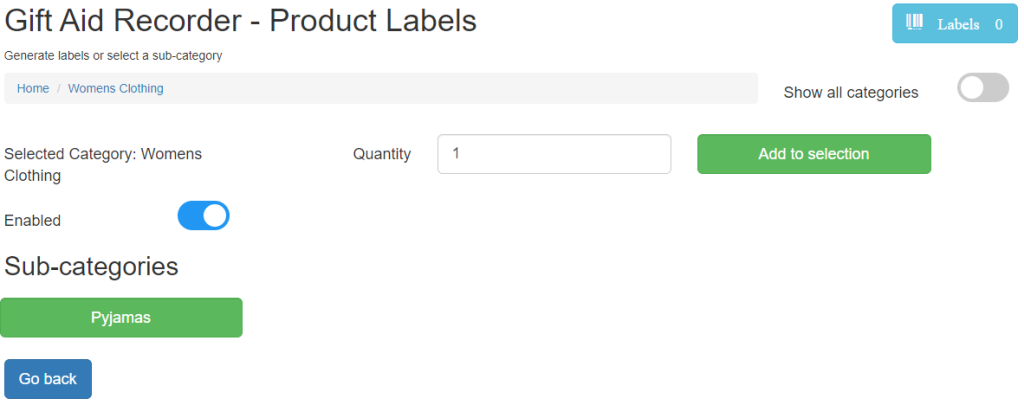
Select a category
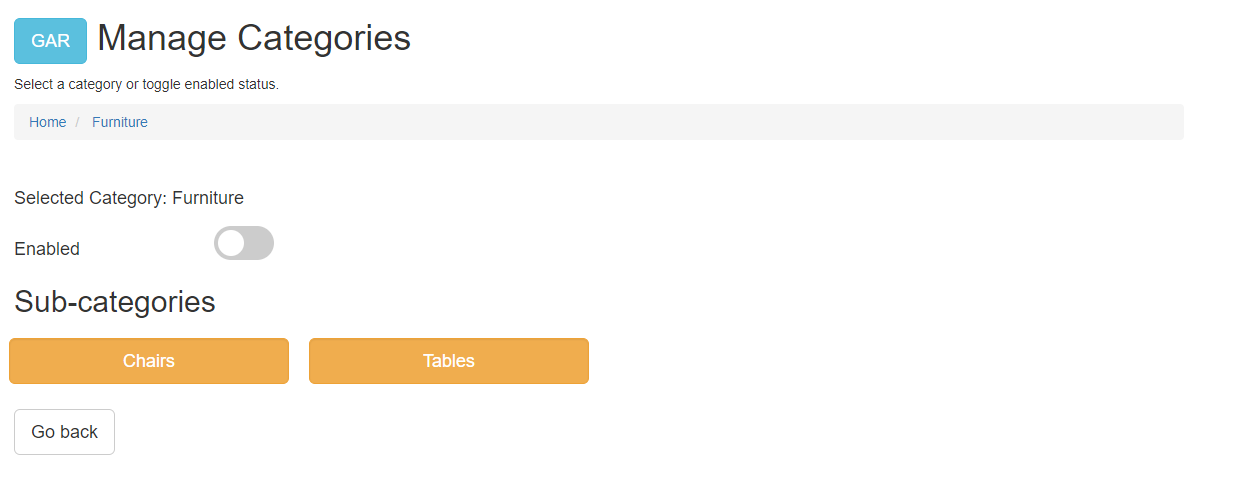
Use the Enabled slider to change the enabled state.
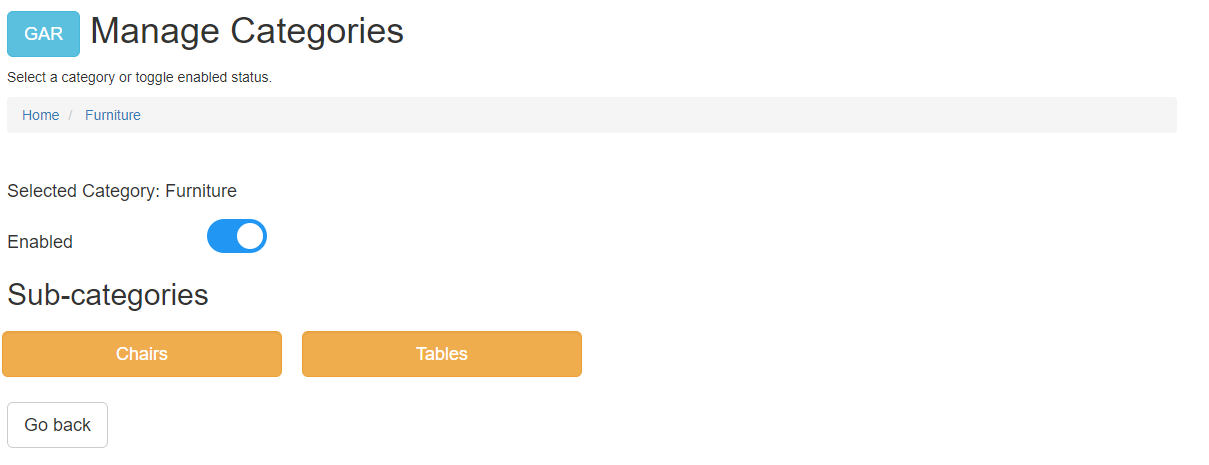
Do the same for sub-categories
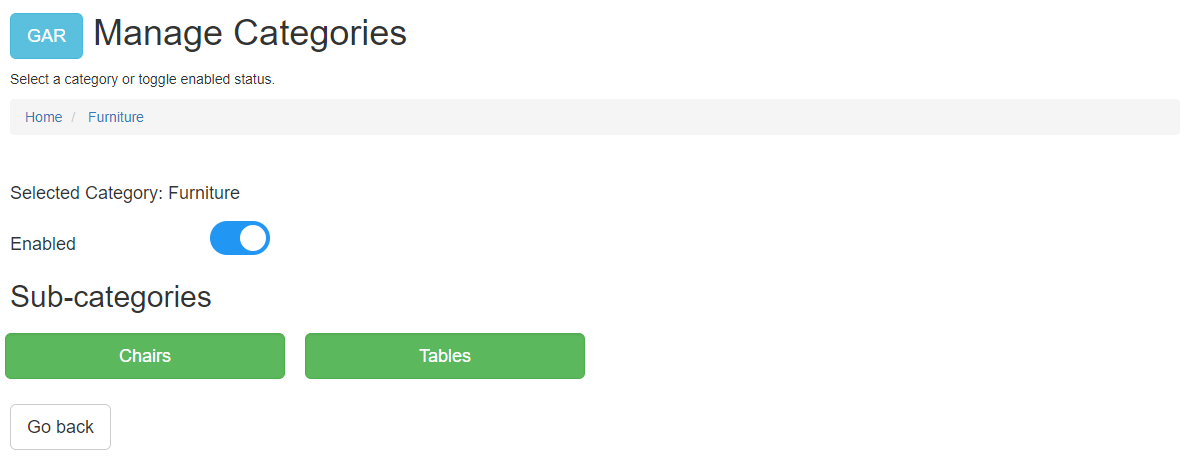
Tip: Use the breadcrumbs navigation to navigate backwards through the category tree.
Registering donors and receiving items
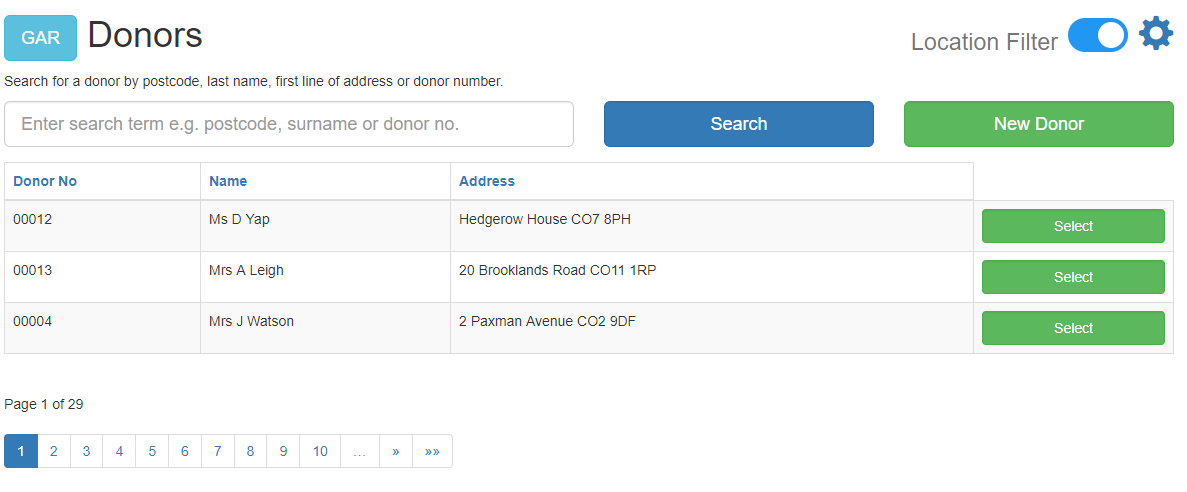
Donors
On the Donors page you can use the search tools to locate and select an existing donor or use the New Donor button to register a new donor.
New Donor
Use the provided button on the Home page or Donors page to register a new donor.
Enter the new donor details and click Confirm. Gift Aid Recorder presents a form to confirm acceptance of the Gift Aid terms, agency agreement and email correspondence if an email address has been provided.
To enable postcode lookup you need to sign up for a Postcoder account, pricing details here. You will then need to set the Postcoder Web API key in your Gift Aid Recorder Account Settings.
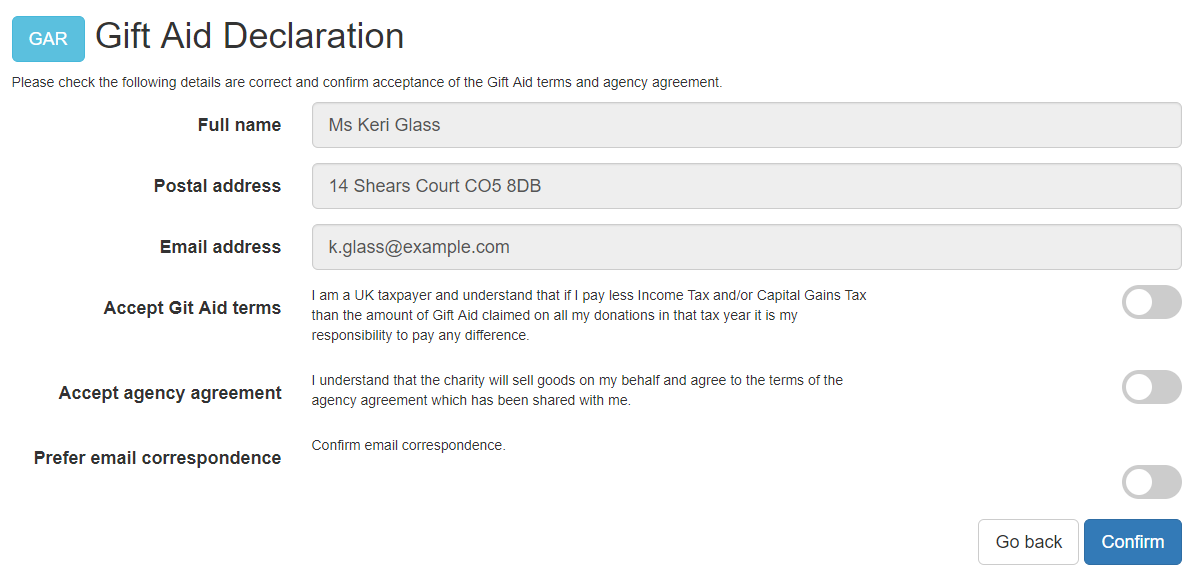
Toggle the sliders to accept the terms and click Confirm. Gift Aid Recorder registers the donor and displays the Selected Donor page.
Selected Donor
Select a donor to confirm or amend donor details, generate bag or product labels or to add the donor details to the current till transaction.
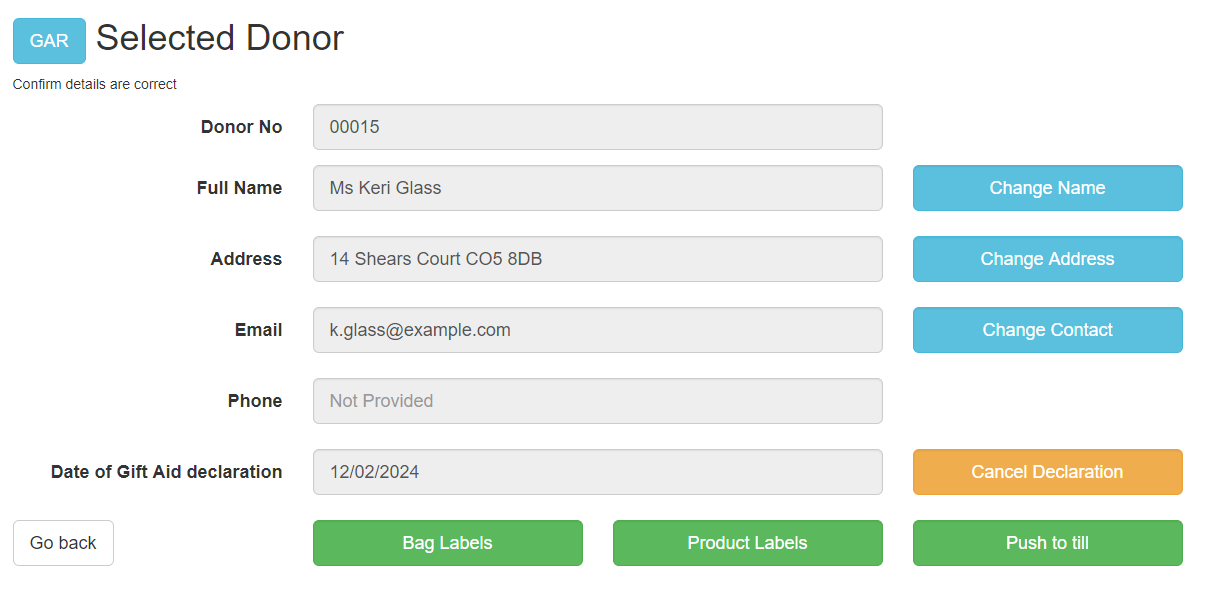
Bag Labels
Click the Bag Labels button to print donor identifying labels. Gift Aid Recorder opens the Epos Now Back Office on the “Generate Labels” page.
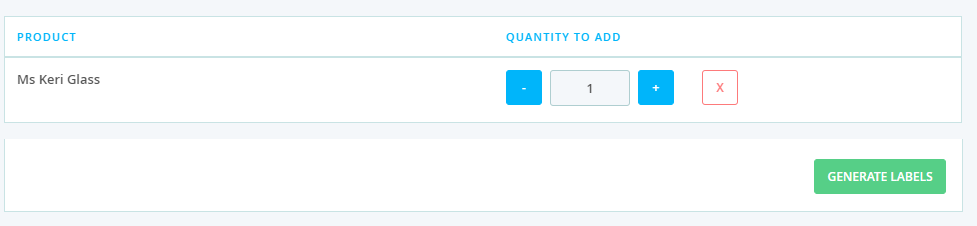
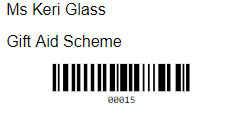
Click the Generate Labels button to print barcode labels identifying a donor. Use donor labels to identify bags of donated items.
Product Labels
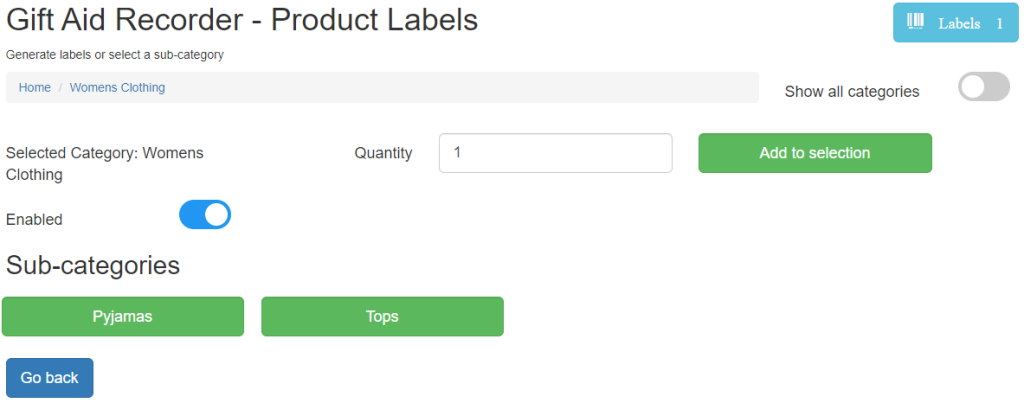
Click the Product Labels button to begin the process of labelling individual products. The Product Labels form opens with the top level categories visible.
Note: There is an “Enabled” status associated with each Epos Now category which controls the visibility of the category. See Manage Product Categories to enable and disable categories.
Click a category button to open a new form displaying the sub-categories for the selected category
Selecting Products (Multiple Product Selection Mode)
Multiple selection mode allows multiple products to be selected in a manner similar to the familiar shopping cart experience.
Choose a category, set a quantity and click the Add to selection button. To enable Multiple Product Selection mode see Application Settings.
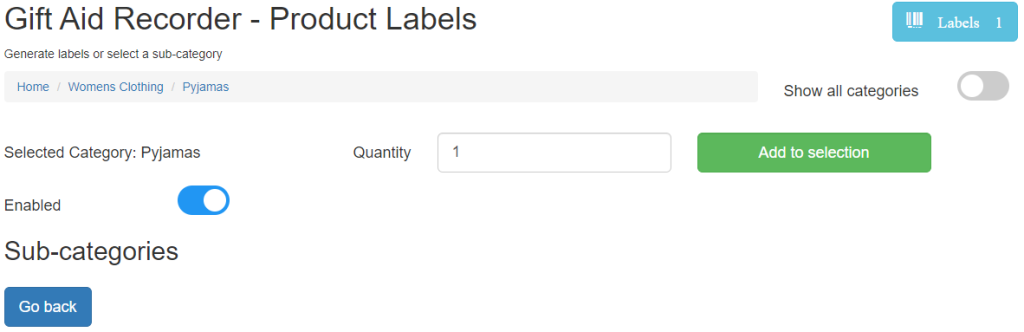
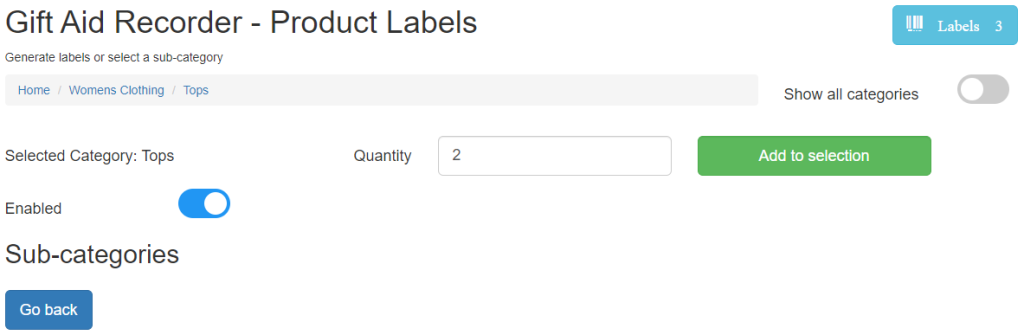
Choose another category and repeat the process.
Note the quantity of labels which will be generated visible on the blue Labels button.
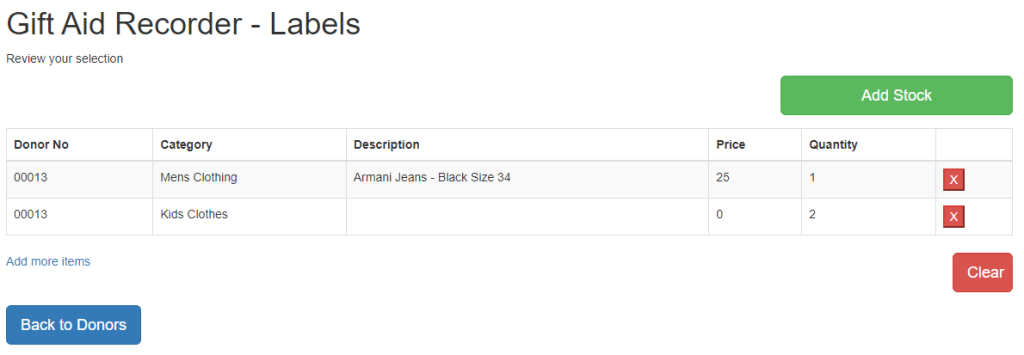
Click the blue Labels button to view the selected items. You can remove items or use the link to Add more items to go back and add to your selection.
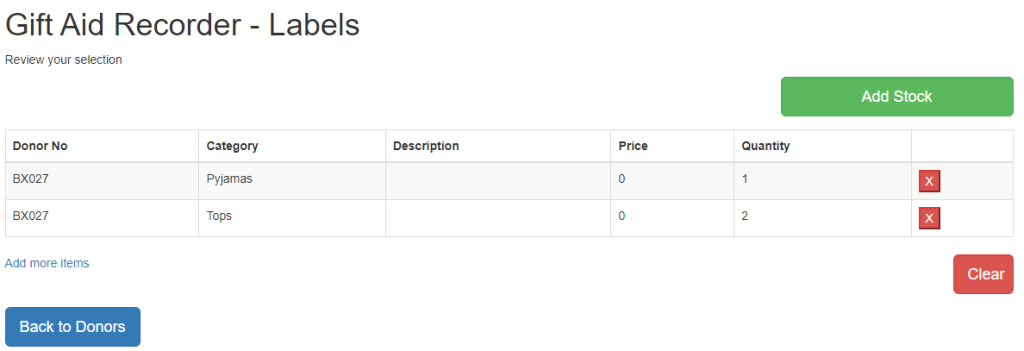
When you are happy with your selection click the Add Stock button. Gift Aid Recorder displays a progress indicator whilst it builds a new stock movement in Epos Now.
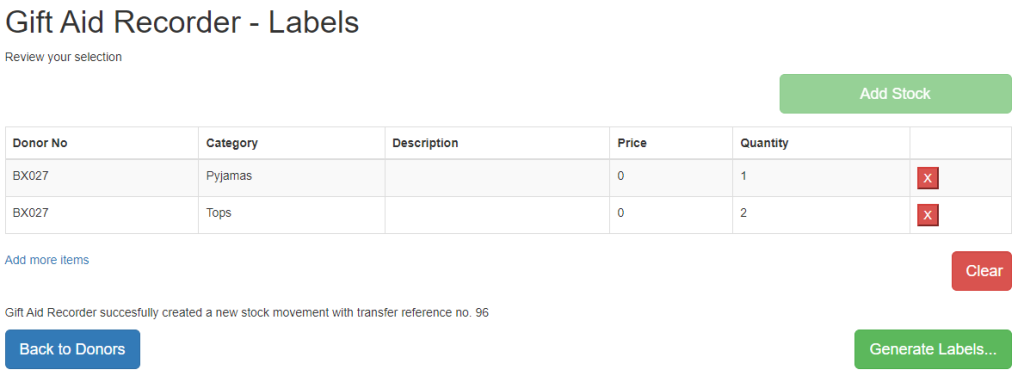
On success Gift Aid Recorder confirms that a stock movement has been created and the associated reference number. Use the Generate Labels… button to open the Epos Now Back Office on the Generate Labels page with the new stock movement selected.

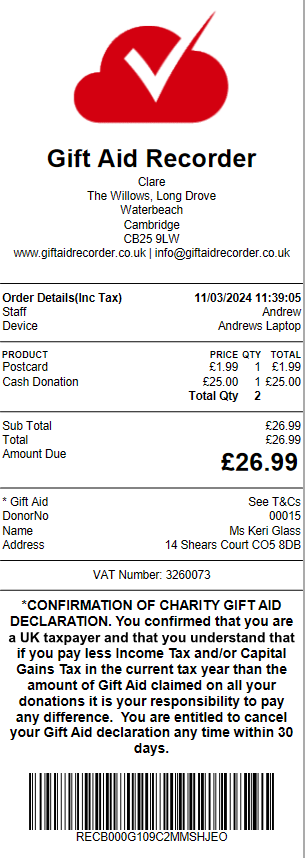
Use the Generate Labels button to print barcode labels as per example below.

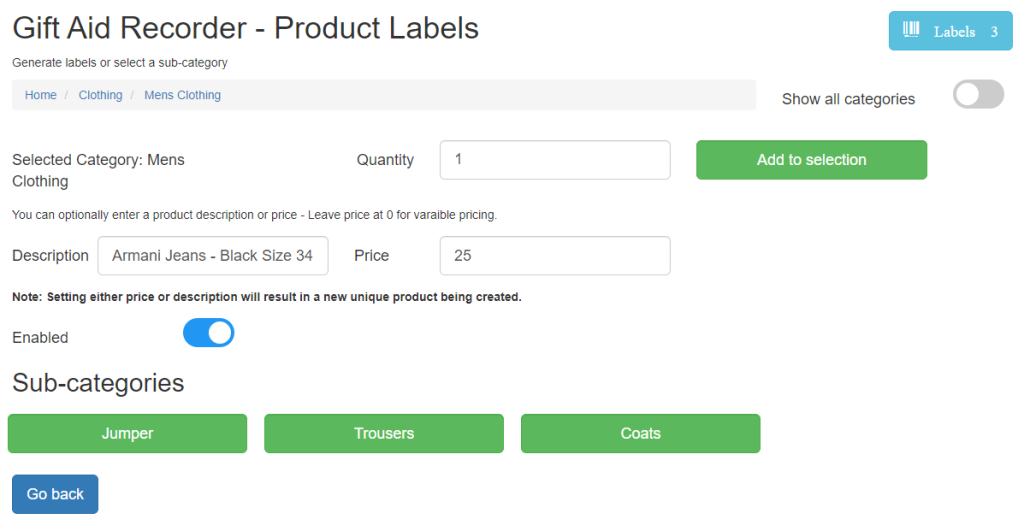
Unique Product Creation
Enable “Allow unique product creation” in Application Settings to create unique products. This mode allows for setting a description and a price for each item added to the selection.
Note: Providing a product description or setting a price will result in a new product being created in Epos Now. Setting a price will disable variant pricing for the new product. You can leave the price at zero for variant pricing.
Your choices are confirmed when reviewing your selection.
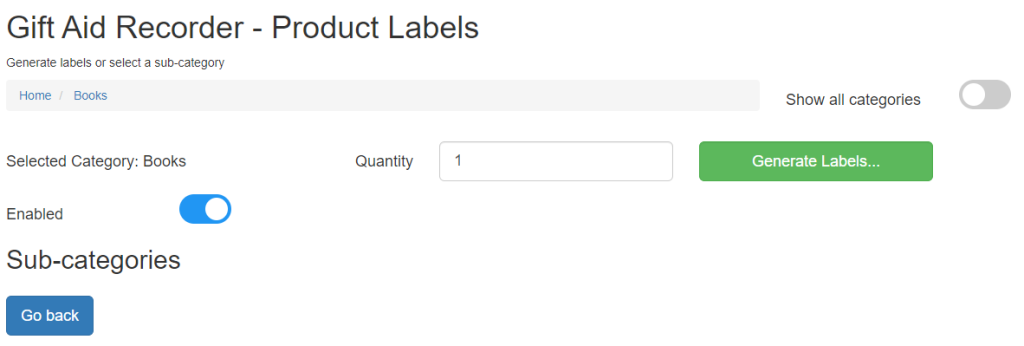
Single Item Mode
Disable “multiple product selection” in Application Settings to enable “single item mode”.
In “single item mode” the shopping cart like experience is disabled. The “Labels” button and “Add to selection” buttons are not visible. There is a Generate Labels… button and you can still set a quantity. This mode provides a quicker method of generating a label for a single category of item and automatic return to the till app after printing.
Cash Donations
Push to till
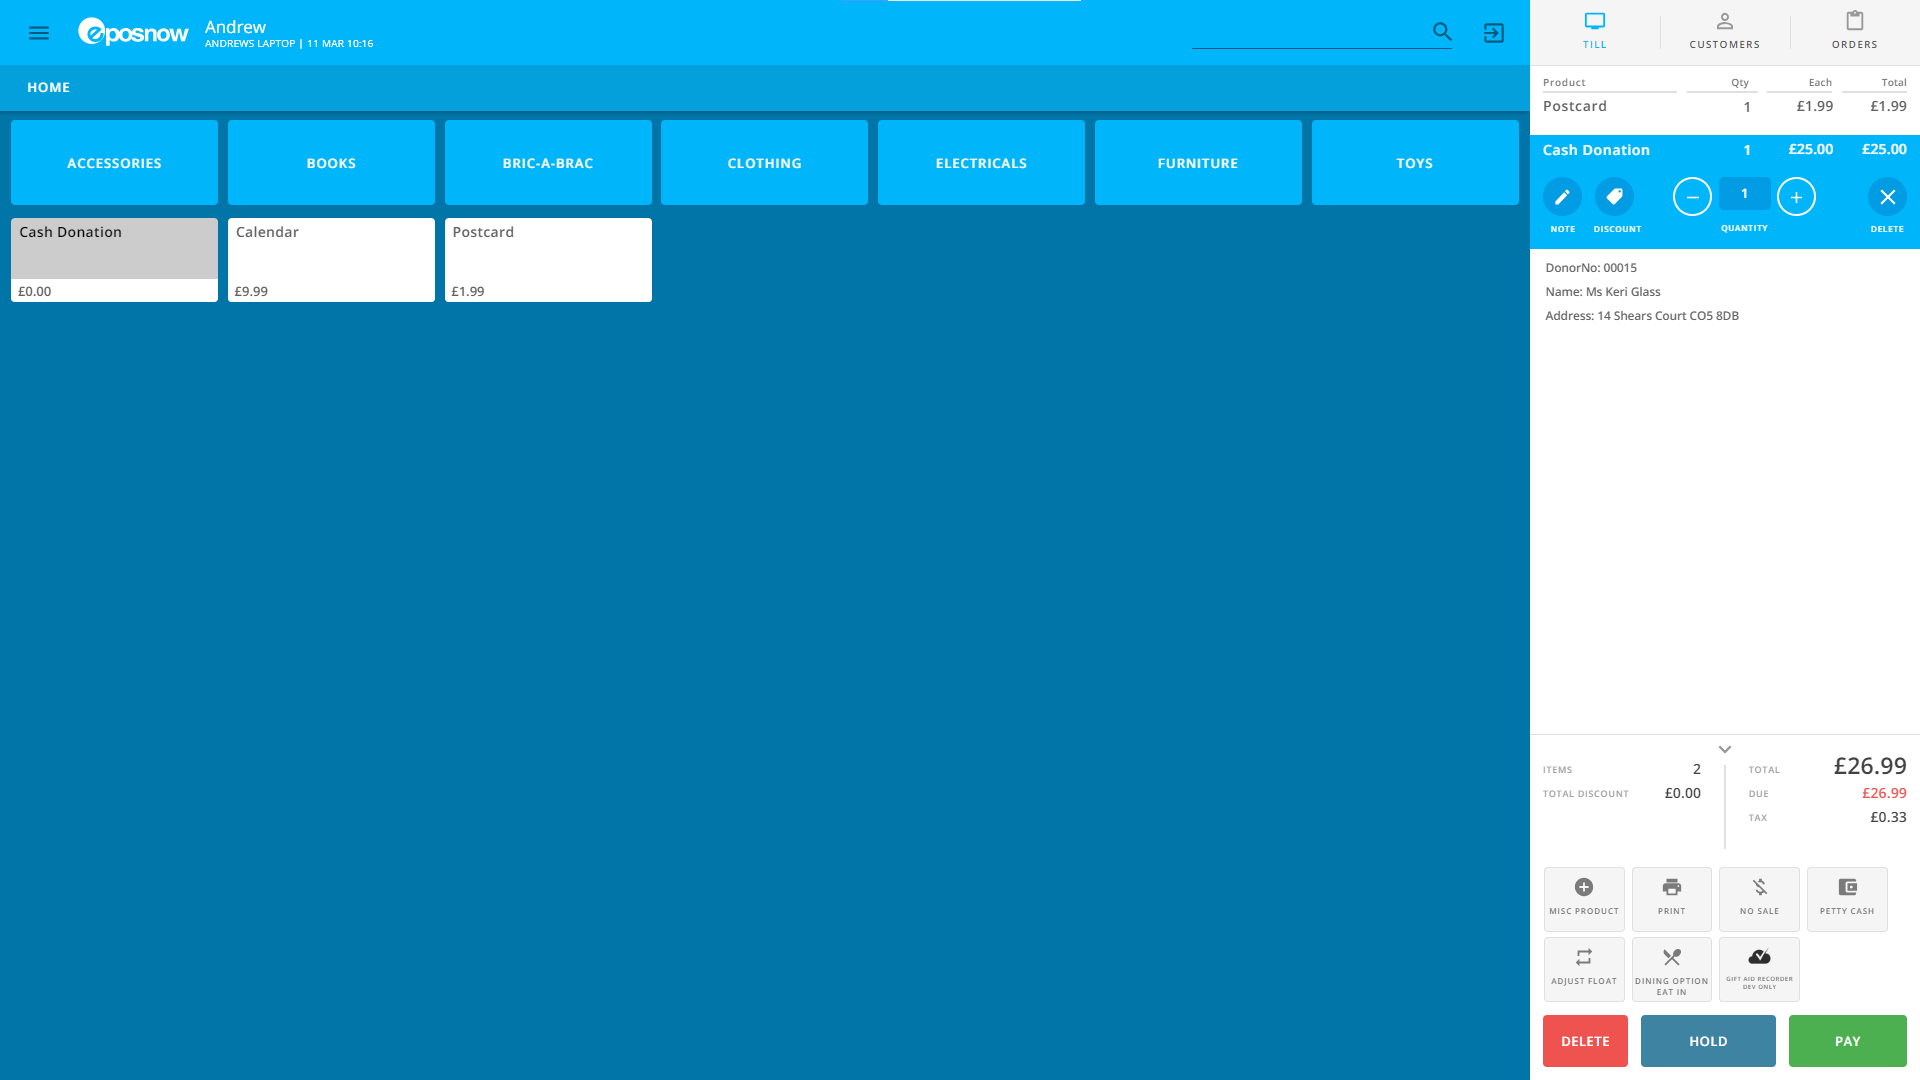
For charities wanting to claim Gift Aid on cash donations. Select an existing donor or create a new donor and use the Push to till button to add the selected donor’s details to the current transaction.
Note: The push to till feature is not available when the app is running in the Epos Now Back Office.